Follow the directions below, or watch this video. Or, try this video. |
 |
1. Choose a Geoblox model. For best results, copy it onto cardstock If your school is too cheap to pay for cardstock, glue a copy onto heavier paper. |
 |
2. Color the model. Each pattern includes a coloring key. |
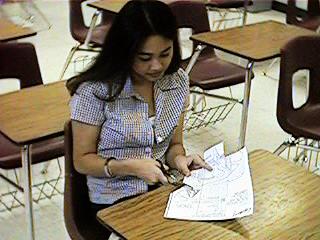 |
3. Use scissors or a hobby knife and straight edge to cut along the solid lines. Do not cut the dashed or dotted lines. |
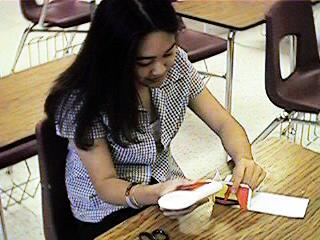 |
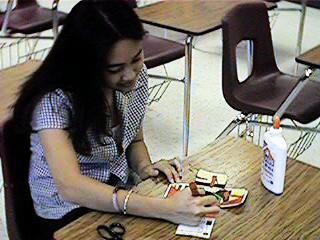
4. Use a straight edge to score along the dashed lines. Fold the glue tabs and apply a small amount of glue. Don't use too much glue! |
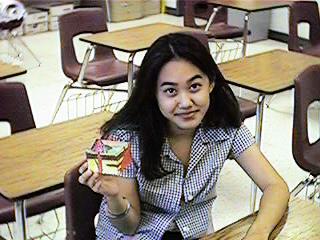 |
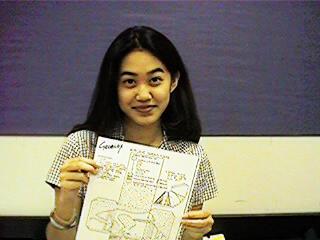
5. Here is a finished Geoblox model of a volcano. Sure, the student pictured here is one of the best and brightest human beings to have ever lived, but these models make landforms understandable to all students. This model includes a number of igneous intrusions. Igneous Intrusion is from the Geology Block Model book. |