![]()
Because geologic features are three dimensional. Textbook pictures help students visualize concepts, but they cannot provide a three dimensional view. Also, many need to be able to feel an object to really understand it. Geoblox models provide visual and tactile learners with a way to fully participate in the learning process.
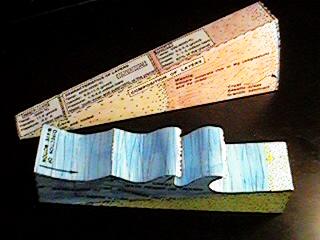
Geoblox models also provide opportunities for developing higher order thinking skills. The structural geology models in Geology Block Models can be used to introduce ordering geologic events. Students then draw their own 'ordering events' diagram on the blank model in this book. Their diagrams must make sense on all sides. If I cannot figure out what geologic events occurred in what order within 60 seconds, the student gets a 100 for the six weeks. I use this activity as a test grade.
Each model in the Topographic Landform Models includes two higher order thinking questions. You could also have them draw and build the maps adjacent to their model. They will definitely understand contour lines by the time this activity is over!
![]()
Yes. You may make as many copies as you want so long as the copies are for your own classroom use and not for resale.
![]()
I designed most of the models to use with eighth graders (age 13), but many students from grades 5-12 have had success building Geoblox models. The Paleozoic Marine Life models were designed with late elementary school students in mind.
![]()
![]()
Use very little glue. The biggest problem I have is getting kids to use less glue on each tab.
![]()
Have your students bring toddler-size shoe boxes to carry their colored pencils, scissors and glue to class every day. Unfinished models can go in the box at the end of the period.
![]()
Ask to switch budgets with the athletic department.
Or:
Run off the model patterns on regular copy paper. Then have your students glue their paper to an old file folder or the cover of a magazine. This will help stiffen up the model.
![]()
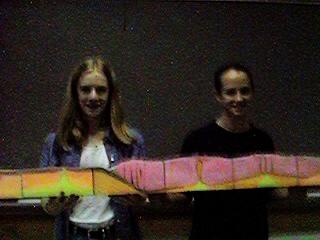
Go to your local copy store and enlarge the models onto poster board. I usually allow a couple of my students to make up a big display model while the rest of class makes the regular sized models. When I discuss the geologic feature, I have a model that can be clearly seen from the back of the room.

|

|
|
These over-sized models were enlarged 200% |
Students with Plate Boundary model |
Here's another possibility; run the pattern onto a transparency and use an overhead projector to enlarge it onto a piece of poster board. Just be sure to lock the wheels on the overhead projector cart. Work fast! Someone is bound to bump into the cart and mess up your drawing.
![]()
Take a look at these step by step instructions. Here are some more hints on construction of the cardboard landform models:
![]()
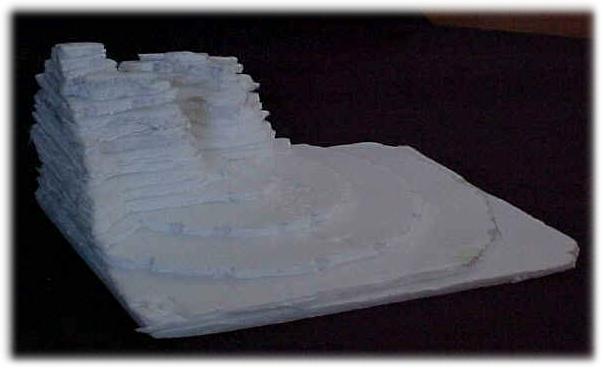
I just tell my students they each need to bring in some cardboard by a certain day. Each model lists the number of square inches of cardboard needed. To make the display models, I used cardboard purchased at the Container Store in Austin TX. Each sheet (36"x48") cost about $1.49.
![]()
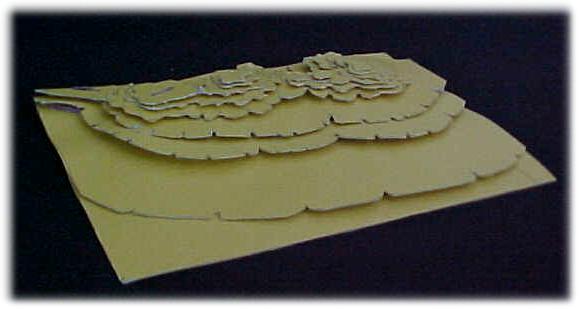
| No. These models can also be made out of poster board. Students can use scissors to do this. Use folded up pieces of poster board as spacers to hold the levels a little apart from each other. |

|
![]()

|
No. My daughter made one of the harder models from that book using foam meat trays and a blunt pair of scissors. At the time she was only in fourth grade.
Meat tray Alluvial Fan model |
![]()
Actually, I have not had any real problems with my students using the knives. Some hints for safe and successful topographic landform model lessons:
In case of a minor accident, I suggest doing the following:
Geoblox assumes no responsibility for injured customers or students.